This guide describes the steps involved to install Vitis / Vivado 2024.1 on Ubuntu Linux inside a Distrobox container. This is useful if you want to run Vitis on a Linux host without polluting your host system with all the dependencies and libraries that Vitis requires.
Distrobox makes it easy to create and manage Linux containers that behave like lightweight virtual machines. Unlike traditional virtual machines, Distrobox containers share the host kernel, making them more efficient in terms of resource usage, and they can seamlessly integrate with the host system making file sharing and hardware access straightforward compared to just using straight-up Docker containers.
Step 1: Download the Vitis installer
You can obtain Xilinx 2024.1 from the following link:
https://www.xilinx.com/support/download/index.html/content/xilinx/en/downloadNav/vitis/2024-1.html
Select the AMD Unified Installer SFD (the 107.11 GB one)
Extract this somewhere sensible (e.g. ~/Downloads/vitis_2024.1)
Step 2: Create a Distrobox container
You may need to install Distrobox first. You can follow the instructions on their website. If, like me, you’re using an Ubuntu host, then you can install Distrobox with:
sudo apt install distrobox
Next, create a Distrobox container with Ubuntu 22.04:
distrobox-create --name fpga --image ubuntu:22.04
distrobox-enter fpga
This will take a while as it “installs basic packages”.
Step 3: Install dependencies inside the Distrobox
This list is built from some experimentation and hints from various forums and other sources. It has worked for me in all cases I have tried so far, but your mileage may vary.
It is a little bit of an “everything but the kitchen sink” approach, but it gets Vitis working under almost all circumstances and without having to chase down missing libraries later.
sudo dpkg --add-architecture i386 && sudo apt update

sudo apt-get install gparted xinetd gawk gcc net-tools ncurses-dev \
openssl libssl-dev flex bison xterm autoconf libtool texinfo zlib1g-dev \
iproute2 make tftpd libselinux1 wget diffstat chrpath socat tar unzip \
gzip tofrodos lsb libftdi1 libftdi1-2 libnspr4-dev libnss3-dev

sudo apt-get install lib32stdc++6 libgtk2.0-0:i386 libfontconfig1:i386 \
libx11-6:i386 libxext6:i386 libxrender1:i386 libsm6:i386 tree \
openssh-server lib32stdc++6 libgtk2.0-0:i386 libfontconfig1:i386 \
libx11-6:i386 libxext6:i386 libxrender1:i386 libsm6:i386 tree \
openssh-server debianutils iputils-ping libegl1-mesa libsdl1.2-dev \
python3 pylint cpio tftpd-hpa gnupg zlib1g:i386 haveged perl xvfb \
gcc-multilib build-essential automake screen putty pax g++ python3-pip \
xz-utils python3-git python3-jinja2 python3-pexpect

sudo apt-get install liberror-perl mtd-utils xtrans-dev libxcb-randr0-dev \
libxcb-xtest0-dev libxcb-xinerama0-dev libxcb-shape0-dev libxcb-xkb-dev \
util-linux sysvinit-utils cython3 google-perftools patch diffutils \
ocl-icd-libopencl1 opencl-headers ocl-icd-opencl-dev libncurses5 \
libncurses5-dev libncursesw5 libncursesw5-dev libncurses5:i386 libtinfo5 \
libstdc++6:i386 dpkg-dev:i386 libdeflate-dev libjbig-dev libjpeg-dev \
libjpeg-turbo8-dev libjpeg8-dev liblzma-dev libtiff-dev libtiffxx5

sudo apt-get install icu-devtools libatk-bridge2.0-dev libatk1.0-dev \
libatspi2.0-dev libbrotli-dev libcairo2-dev libdatrie-dev libdbus-1-dev \
libegl-dev libglvnd-core-dev libglvnd-dev libgraphite2-dev libgtk-3-dev \
libharfbuzz-dev libharfbuzz-gobject0 libice-dev libicu-dev libopengl-dev \
libpango1.0-dev libpixman-1-dev libsm-dev libthai-dev libwayland-bin \
libwayland-dev libxcb-shm0-dev libxcomposite-dev libxcursor-dev libxdamage-dev \
libxfixes-dev libxft-dev libxi-dev libxinerama-dev libxkbcommon-dev \
libxrandr-dev libxrender-dev libxtst-dev pango1.0-tools wayland-protocols \
libxss-dev libyaml-0-2

sudo adduser $USER dialout

exit
Step 4: Install Vitis inside the Distrobox
Re-enter your Distrobox container:
distrobox-enter fpga
cd ~/Downloads/Xilinx/Downloads/2024.1  [or wherever you extracted the installer]
sudo ./xsetup
Select Continue, then install everything (or whatever subset you think is appropriate). The installation will take a while.

Installation will now take some time and when it finishes it will say you need to run an installLibs script:
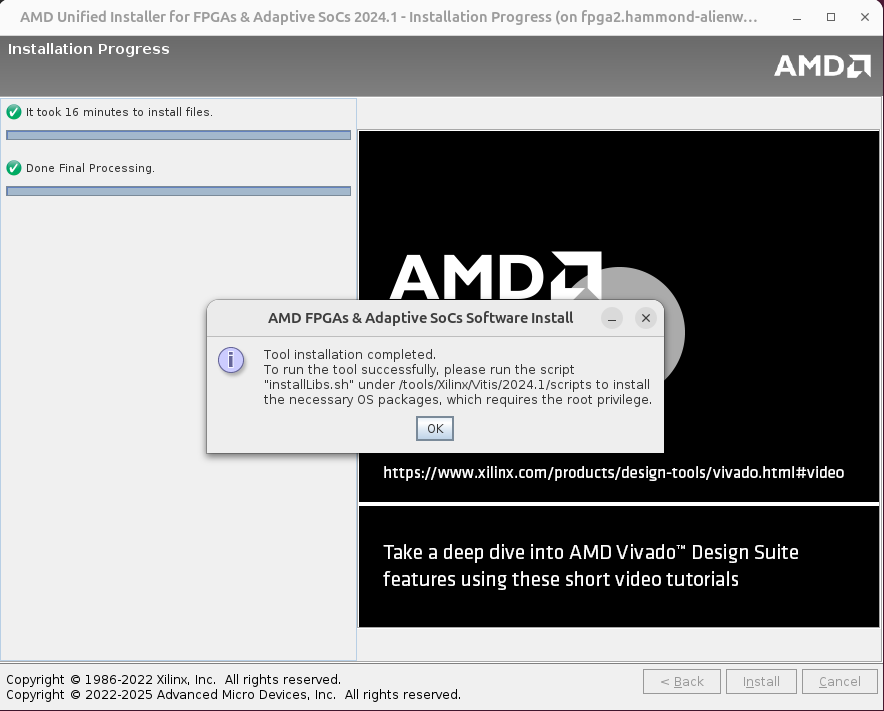
Run the installLibs script as directed:
sudo /tools/Xilinx/Vitis/2024.1/scripts/installLibs.sh
Actually, you’ll see it (probably) didn’t install anything as all the required libraries were already installed in Step 3. If it does install anything more, that’s fine too.
Now let’s install the cable drivers:
cd /tools/Xilinx/Vivado/2024.1/data/xicom/cable_drivers/lin64/install_script/install_drivers

sudo ./install_drivers
Unfortunately, we now also need to install those same cable drivers at the host level so that the host can see the FPGA programming cables.
Let’s copy the install script to the host:
cp /tools/Xilinx/Vivado/2024.1/data/xicom/cable_drivers/lin64/install_script/install_drivers ~/install_drivers_xilinx.sh
And then exit the Distrobox again:
exit
Now run the install script on the host:
sudo bash ~/install_drivers_xilinx.sh
Now we need to add the host user to the plugdev and dialout groups so that the user can access the programming cables:
sudo usermod -aG plugdev $USER
sudo usermod -aG dialout $USER
Log out and back in again to make these group changes take effect.
Step 5: Test Vitis
Firstly, re-enter your Distrobox:
distrobox-enter fpga
Now source the Vitis settings script:
source /tools/Xilinx/Vitis/2024.1/settings64.sh
Now start Vivado:
vivado &
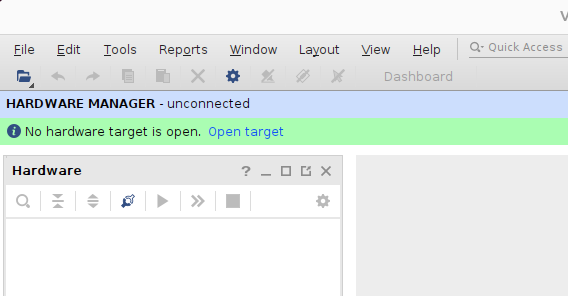
Once the window appears, try to open the Hardware Manager (to see if it can find any programming cables):

Plug in the KV260 FPGA to USB and to Power, then select Target -> Auto Connect:
Ignore any warnings for now, we’re just interested if it can see the hardware, so dismiss any popups and then see if it looks like devices appear under your hardware manager like so:
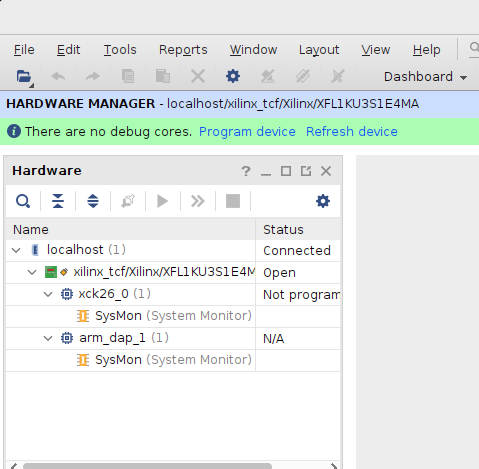
You can now quit vivado.
Step 7: Test Vitis
Return to your Distrobox terminal, source the Vitis settings script again if needed:
source /tools/Xilinx/Vitis/2024.1/settings64.sh
Then launch Vitis:
vitis --classic &
(We use classic mode because the new unified vitis is still quite buggy in 2024.1 version)
Just make sure it launches for now, then quit and we’ll come back in the next tutorial(s)!