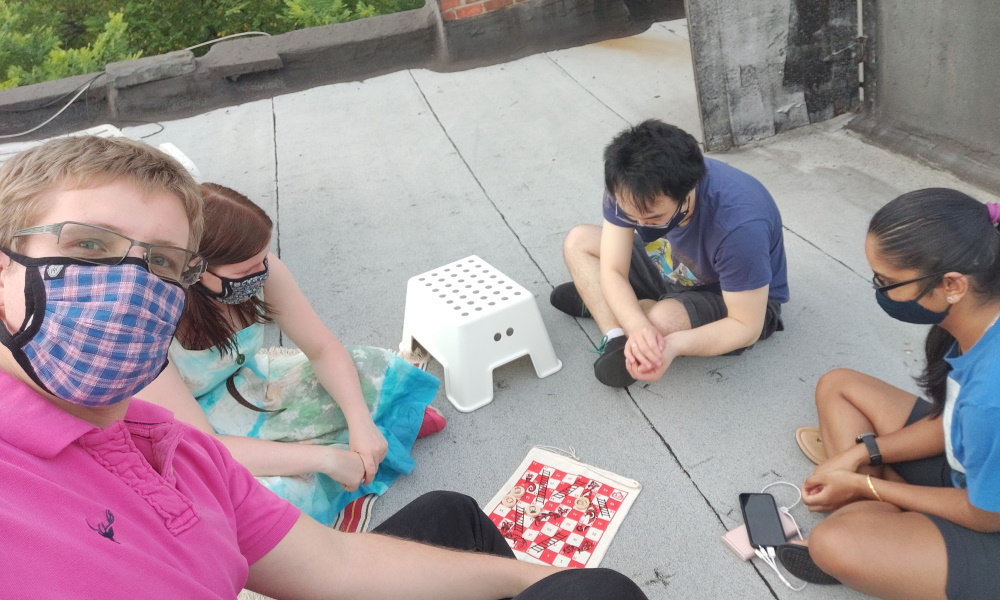
I just moved to the USA, and as a leaving gift, a work colleague gave a New Zealand themed version of the classic game Snakes and Ladders (the NZ theme being that this was Taniwha and Ladders, of course).
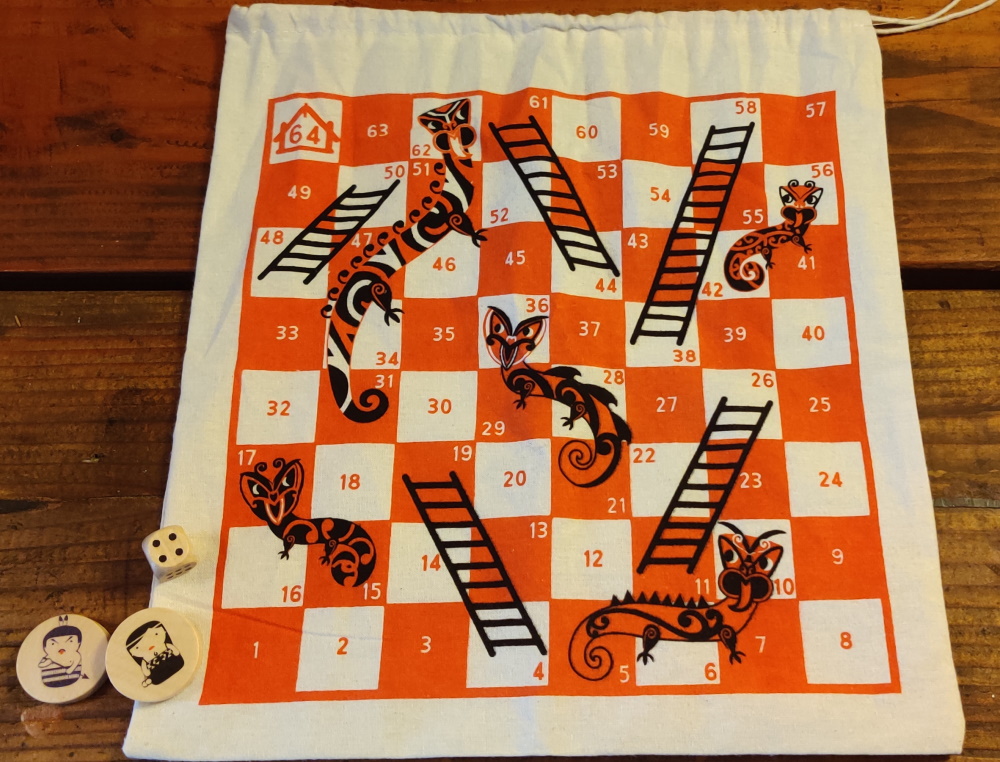
Of course, we all know the rules of Snakes and Ladders (well - there’s some debate around a few house rules), but in general, you roll a six sided die (also known as a d6) and then move that number of spaces across the board. If you exactly land on the start of a ladder you go to its top, and if you exactly land on the mouth of a snake (or Taniwha) you go to the end of its tail.
To win the game, you need to be the first person to reach the end tile.
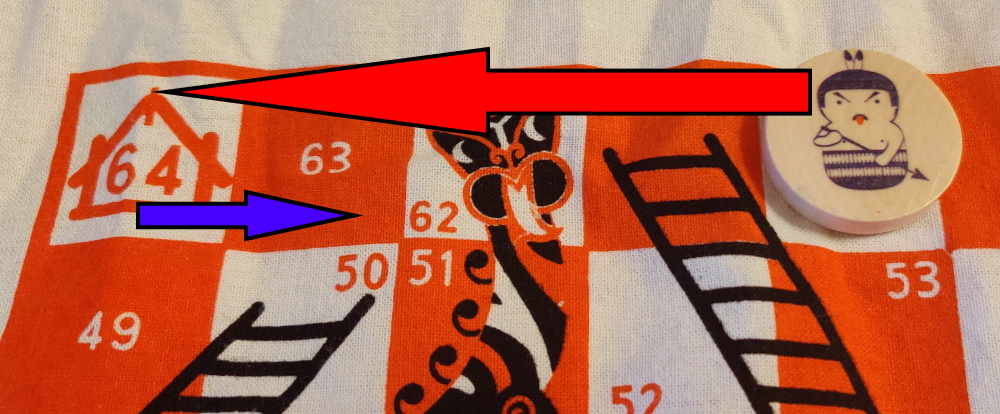
A typical house rule is that you must land on the end tile exactly - if you overshoot your roll (e.g. its 4 spaces away and you rolled a 5) you bounce-back, i.e. move 4 spaces forward and then 1 space back to make a total of 5. This bounce-back is depicted here:
The problem
Mostly we played this game as children, right? And when we are young and playing a game we might not notice the issues with it. Well, this game has a fairly serious one.
You, as a player, have no bearing on the outcome of the game.
You have no agency.
The only action you can make is to roll a d6, and then you move based on the output of the die. As the die is random, your moves are random, and that’s really all there is to it.
Brainstorming
What we want to do here is add some kind of decision making to the game, so that players might have options on their turns so that they can have some control over how the game plays out.
We quickly brainstormed a number of options, from the simple (e.g. allowing players to choose to move forwards or backwards, possibly declaring it before they roll, possibly declaring it after), to the complex (somehow allowing players to move the actual snakes and ladders on the board).
However, we wanted to constrain the game’s modification so that the setup remains simple. The beauty of this game is that there’s just tokens, a die, and a fixed board. So, while some options could be neat (adding powerups in the form of cards to be played on later turns) they (in my opinion) make the game too complex and take it too far away from its roots.
Our solution - the active die
Eventually, we settled upon one simple addition to the game.
This only requires a slight addition to the game’s hardware (two extra dice, a four sided die (a d4) and an eight sided die (a d8). We picture these here with the original d6.
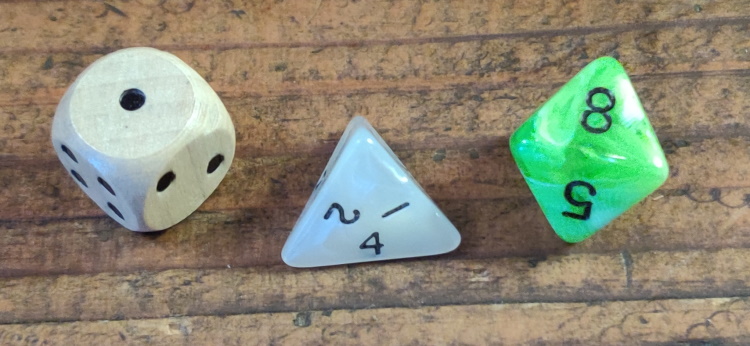
Now we add a new concept to the game - the active die.
The active die refers to which die you are allowed to roll on your turn. If the active die is a d6, you roll a d6. If it is a d8, you roll a d8. Etc.
We now add two new rules:
- On a given turn, a player can choose between one of two options. Either they roll the game’s currently active die, or they can change the active die and not roll.
- To prevent deadlocks and add further strategic options, the player who moves after a player who changed the active die is not allowed to change the active die again. That is, if the player immediately before you changed the active die, you must roll with the new die.
Why would you want to change the active die?
The different die have different probabilities for each number.
Consider the depicted situation:
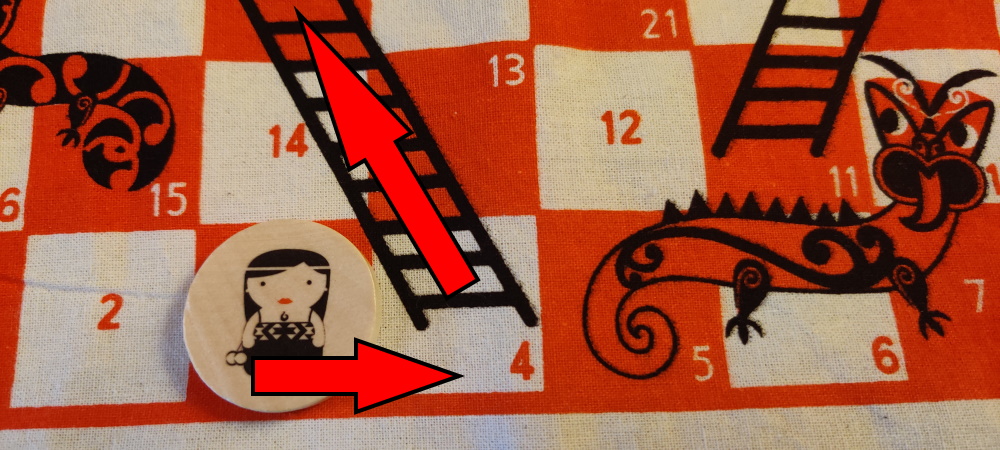
Here, the base of a ladder is just one step away from your player token. As such, having the d4 active means you have a 25% chance of landing on it, as opposed to the d6 where it is a 16.7% change, or the d8 where it is a 12.5% chance. So, instead of rolling the less ideal die you might choose to spend your turn changing it.
However, there is of course a tradeoff. If you change the active die, you don’t move, allowing the other players a further roll to catch up.
Also, if you play with more than 2 players, then you might find the another player changes the die again - meaning you wasted your turn!
The end-game and changing the active die
With the integrated bounce-back end-of-game rule, having the ideal active die when approaching the end of my Taniwha and Ladders board can grant a major advantage. Consider this situation:
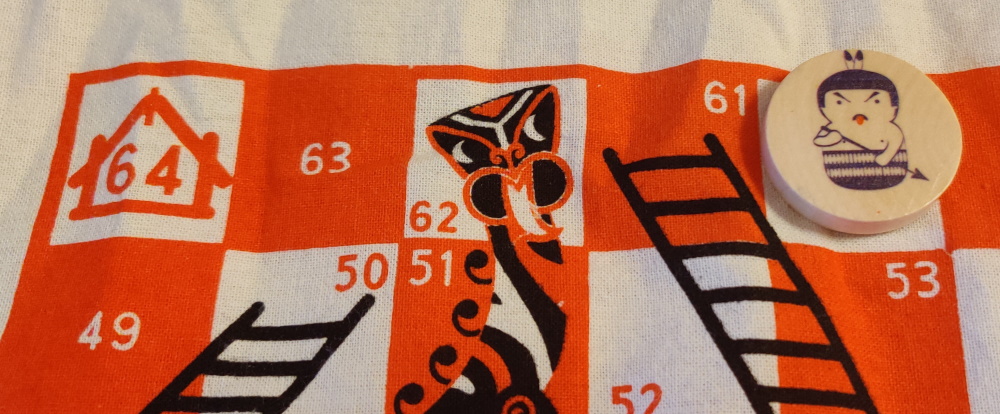
Here, the finish square is four spaces away. Your best move is to roll a 4 and get there on a single turn. However, there are other options - you could roll a 1, and then a 3, or a 3, and then a 1. Given bounce-back, you could also roll a 5, and then a 1, and so on. There’s many options!
However, the presence of the Taniwha head causes a slight complication. If you roll a 2 you will face a major set back. There’s a number of other ways you could also land on the Taniwha - you could roll a 1 then a 1, or with bounce-back you could roll a 6.
As such, the ideal dice to win this turn is a d4. You have a 25% chance of landing on the finish space, and a 25% chance to land on the Taniwha head. A d6, however, is much worse - as both a 2 and a 6 would result you landing on the Taniwha, you have only a 16.7% chance of victory compared with a 33.3% chance of being eaten!
Conclusions
After testing the game, we have concluded that the active die rule is a great success and improves the game without adding much cognitive overhead. If you can rangle up an old Snakes and Ladders board (or a new Taniwha and Ladders board) and grab a few friends, why not give it a go?